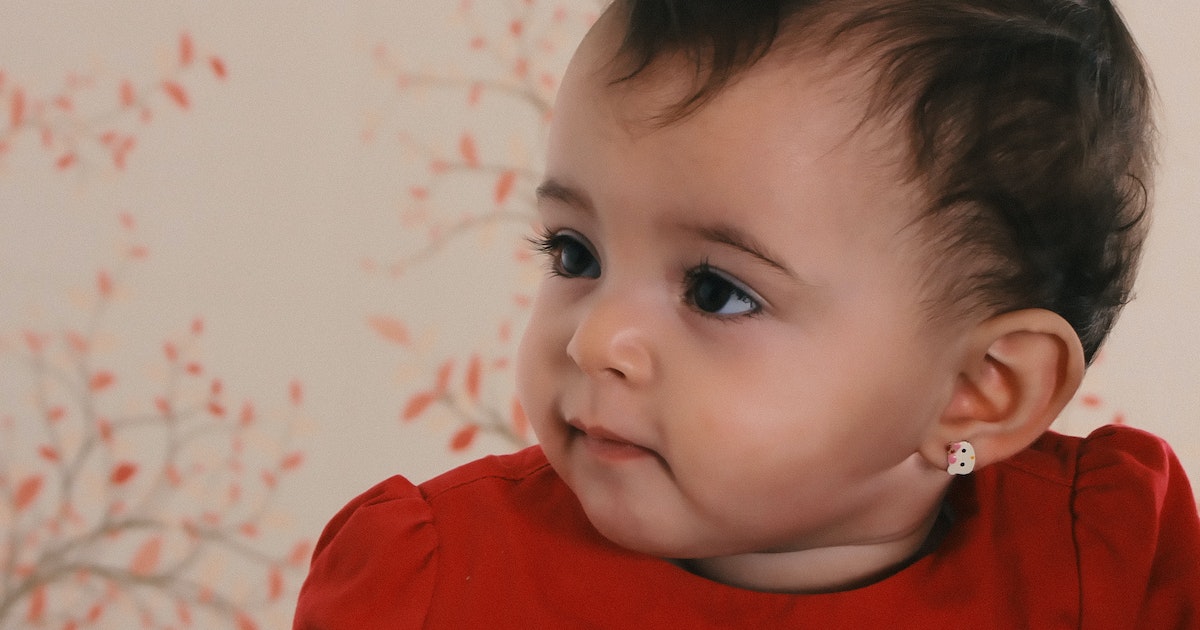
Many parents and guardians are surprised to learn that even infants can get head lice. Generally speaking, babies get head lice from older brothers and sisters who are in school, daycare or summer camp. Therefore, if you have older kids at home, it’s definitely possible for the baby to get lice, too!
Discovering head lice on your baby can be concerning, but with early detection and prompt treatment, you can effectively manage the situation. Below is a step-by-step guide on how to check for head lice on a baby, including what to look for, common signs and effective techniques to ensure accurate detection.
Understand the Symptoms
Before conducting a head lice check on your baby, it’s important to familiarize yourself with the common symptoms of lice. These may include:
- Persistent itching of the scalp
- Visible nits (lice eggs) attached to the hair shafts
- Small, moving insects on the scalp or in the hair
- Irritability or difficulty sleeping due to itchiness
Choose the Right Environment
Select a well-lit area in the home with good visibility to perform the head lice check. Natural sunlight or a bright room with ample lighting is ideal for spotting any signs of lice or nits. Keep in mind, however, that lice are hard to find. They avoid light and move quickly, so you’ll still need the right tools and patience to make an accurate diagnosis.
Gather the Necessary Tools
To conduct a thorough examination, you will need these essential tools:
- Fine-toothed comb. A nit comb or a fine-toothed comb specifically designed for head lice removal is essential. My Hair Helpers has one of the best lice combs on the market that drags out nits and mature lice!
- Magnifying glass. This is an optional tool, but it can help you see details more clearly. We recommend using one if you have it.
- Prepare Your Baby. Ensure your baby is comfortable and cooperative during the examination. Engage them with their favorite toys or distractions to keep them calm and still.
Start the Examination Process
Follow these steps to check for head lice on your baby:
- Step 1: Part the Hair. Begin by parting the hair into small sections, starting from the top of the head and working your way down. Babies often don’t have much hair, so you might be able to skip over this step.
- Step 2: Inspect the Scalp. Look closely at the scalp, particularly around the ears, nape of the neck and crown. Pay attention to redness, irritation or small red bumps, as these can indicate a lice infestation.
- Step 3: Check for Nits. Using the fine-toothed comb, comb through a small section of hair from root to tip. Look for tiny oval-shaped nits attached to the hair shafts, near the scalp. Nits are usually light-colored and can be mistaken for dandruff but are more difficult to remove.
- Step 4: Look for Lice. While combing through the hair, be on the lookout for any moving insects. Lice are small and brown or gray in color, and they quickly scuttle away from light, making them challenging to spot.
- Step 5: Repeat the Process. Continue parting the hair, section by section, until you have checked the entire scalp thoroughly.
Take Appropriate Action
If you discover head lice or nits on your baby, it’s crucial to take immediate action to prevent further infestation and discomfort. Do NOT use over-the-counter head lice products, as these often contain harsh chemicals that can irritate a baby’s skin. In fact, many treatments aren’t safe for kids under 2.
You can either consult with your pediatrician or choose safe, kid-friendly lice products. My Hair Helpers’ products are made from natural ingredients like peppermint and spearmint. They are guaranteed to work, and they won’t cause any irritation to your baby’s skin. Many of our customers keep our products on hand to prevent and treat head lice for everyone in the family!
If you have further questions, don’t hesitate to reach out! Aside from selling products on our website and on Amazon, we also have head lice salons in California that will handle everything for you and baby!


